
It’s highly recommended you do not have debugging turned on on your website.
A minimum of PHP 8.0 is required for this to now work.
The instructions may differ for personal @gmail.com accounts to those that use Google Workspaces.
Setting up the Google Calendar Integration extension is difficult however, follow this guide and you will be fine.
First what you need to do is make sure you have a Gmail account. You can get this free from Google. Then you need to install and activate the MDJM – Google Calendar Integration extension.
Once/if you have an account, head to https://console.cloud.google.com
When it’s loaded, click on the drop-down arrow at the top (it might not look like mine)

and click on New Project.

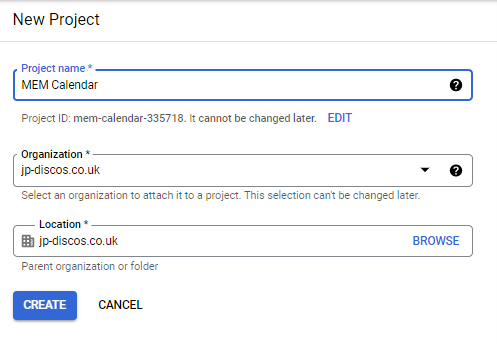
Once you’ve created the project, type in a project name. You may need to select the organisation it belongs to. Click Create.
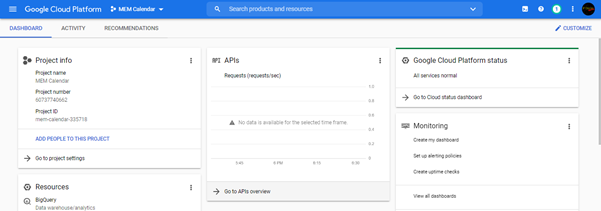
When the project has been created, you’ll go back to the dashboard. Under the APIs window in the middle, click on Go to APIs Overview (highlighted in grey).
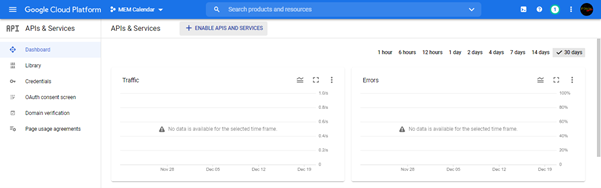
A new screen will pop up called APIs and Services. Click on the button that says ENABLE APIS AND SERVICES at the top.
In the Search box search for Google Calendar. You may need to press Enter.

Click Enable.
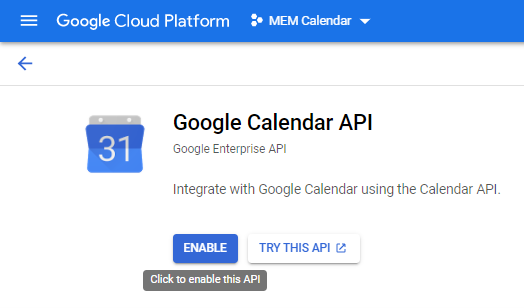
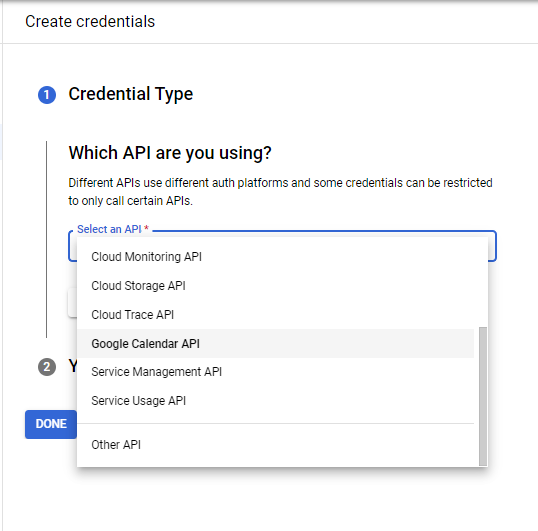
The API will be enabled at this point. Click Create Credentials.
![]()
Select the Google Calendar API from the first dropdown box.
What data will you be accessing? User Data
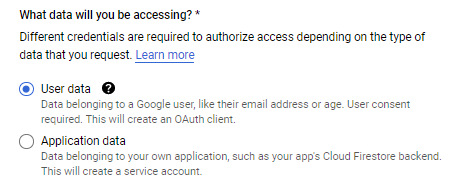
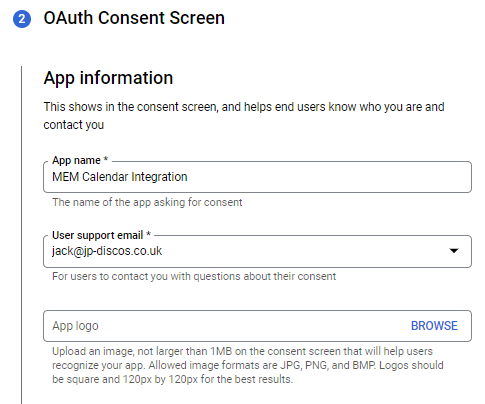
Click Next. On the next screen, use the App Name of MDJM Calendar Integration. You can call it whatever you like but for ease, it’s recommended to call it this. You have to use the dropdown on the User support email as your own.
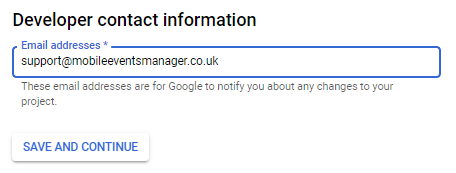
When it comes to the Developer contact information box, type in our email address [email protected].
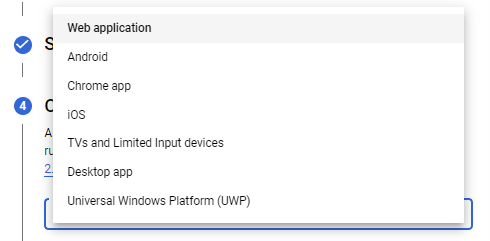
You can skip the Scopes bit. On the next step, from the dropdown, select Web Application.
Type in the Name as MDJM Calendar. Again, you can call this whatever you like but for ease call it MDJM Calendar.
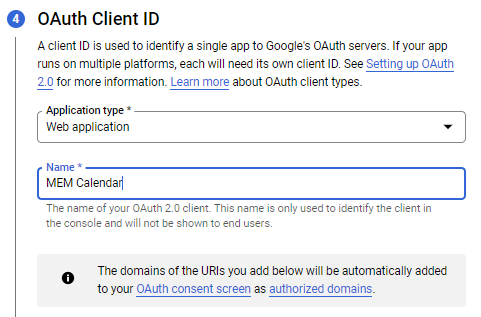
The warning above about the domains, ignore it for now, you add the URLs on the next bit.
Authorized Redirect URLs you need to get this from the MDJM Settings -> Extensions -> Google Calendar Integration Settings.
Copy and paste the Redirect URL link from the settings then click on the Add URL button back on the Google page.
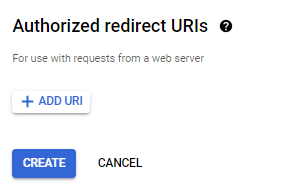
Click Create.
If you’ve done this correctly, the API will create and you will be presented with a Client ID on the screen. You need to copy and paste that Client ID into the MDJM Settings page.

Click Done to go back to the API Dashboard on Google.
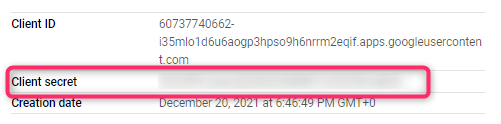
Under the OAuth 2.0 Client IDs section, click on the pencil on the right hand side.

On the right, the Client ID and Secret will appear. You need to copy and paste the Client Secret into the MDJM Settings page too in the relevant text box. The contents of the field will be hidden in MDJM.
Once you have entered your Client ID and Secret into MDJM, you MUST click on Save Changes at the bottom of the settings screen first!!!
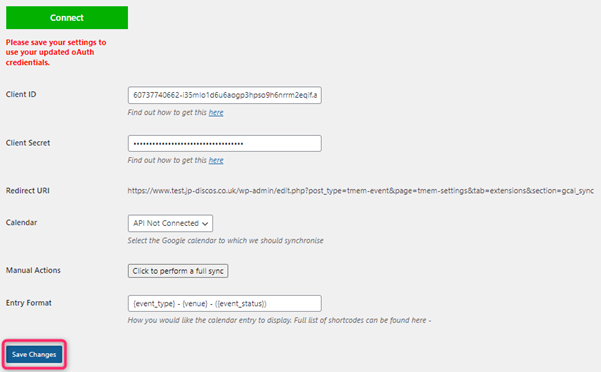
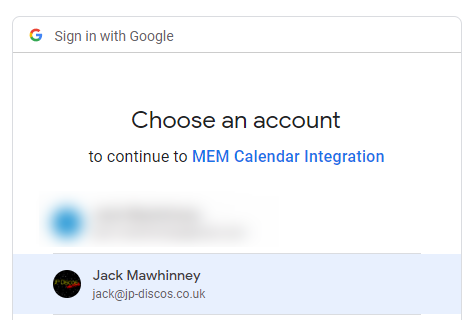
Once you have clicked Save changes, the red text at the top will disappear. Click on the green Connect button. When the page loads, click on the email account (or login if you haven’t got the account saved) you just used to create the API with.
Then click on the Allow button.
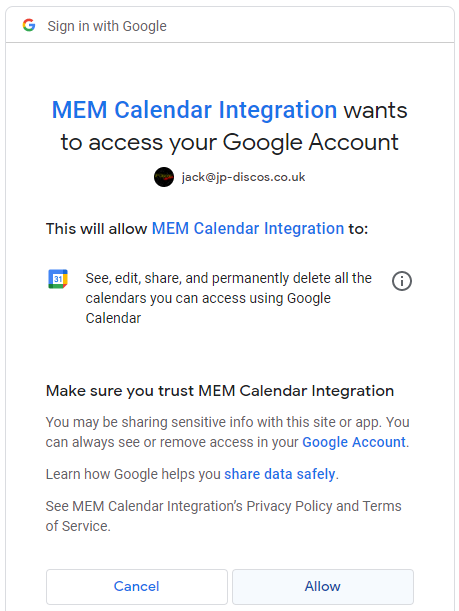
Once allowed, the green Connect button will turn into a red Disconnect button. Select the main account calendar (usually the email address) from the dropdown and click Save Changes again.
Click on Click to perform a full sync button.
Check your Google Calendar. If you’ve followed every step above, you will see the events appear in your calendar.